

4일차에는 웹페이지가 그럴싸해보이는 레이아웃 설정에 대하여 알아보겠습니다.
2일차에도 적어둔 영상을 참고하여 개발하였습니다.
Next.js 나만의 포트폴리오 사이트 만들기 (개발하는 김에 배포까지) / LottieFiles, Notion Api, TailwindCSS

💡 Root Layout?
참고한 영상의 푸터와 헤더 설정하는 부분을 보면 layout.js를 만들어 작성해야하는 부분이 있습니다.
저는 기존의 폴더에 layout.js가 있어서 그 부분에 푸터와 헤더를 작성 후 페이지를 렌더링하니 에러가 났습니다.

Missing required html tags라는 에러였습니다.
Root Layout에는 <html>과 <body> 태그가 꼭 있어야 한다는 것이었습니다.
영상에서는 두 개의 태그가 없이 렌더링이 가능했는데 왜그런지 궁금해졌습니다.
RootLayout의 역할에 대해 알아본 결과 다음과 같습니다.
- RootLayout은 Next.js의 앱 라우터 구조에서 기본 레이아웃을 설정하는 데 사용합니다.
- 파일 위치는 app/layout.js이며 이는 Next.js에서 필수 파일로 간주되며, 모든 페이지에 적용됩니다.
즉, RootLayout은 전반적인 페이지의 기본 레이아웃을 설정합니다.
특정 페이지나 라우터에 별도로 레이아웃을 적용하려면 새로운 js 파일을 만들어야 하는 것이었습니다.
영상에서 보면 새로운 js 파일을 작성해서 하는데 저의 무지함으로 인한 해프닝(?)이었습니다.
그렇지만 하나의 지식을 습득했으니 오히려 좋아😎
🛠️ layout 설정하기
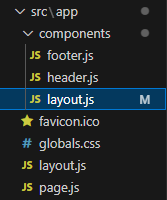
영상처럼 components 폴더를 만들고 그 아래 layout.js, header.js, footer.js를 만들었습니다.
export default function Header(){
    return (
        <>
           <h1> 헤더 </h1>
        </>
    );
}
export default function Footer(){
return (
<>
<h1> 푸터 </h1>
</>
);
}import Header from "./header"
import Footer from "./footer"
export default function Layout({ children }) {
return (
<>
<Header />
<div>
{children}
</div>
<Footer />
</>
);
}
이렇게만 하면 원래 페이지에서는 아무일도 일어 나지 않습니다.
원래 페이지에 레이아웃을 적용하려면 page.js 파일을 수정해야 합니다.
import Layout from "../app/components/layout";

.
.
.

return (
    <Layout>
      <h1 className="absolute top-4 left-4 text-xl font-bold">
        스터디 멤버들의 총 활동 시간은
      </h1>
      <ul className="mt-8">
        {Array.from(memberTimeMap.entries()).map(([member, { totalTime, iconUrl }]) => (
          <li key={member} className="mb-4 flex items-center">
            {iconUrl && (
              <img
                src={iconUrl}
                alt={`${member}의 아이콘`}
                className="w-8 h-8 mr-4 rounded-full"
              />
            )}
            <div>
              <h2 className="text-lg font-semibold">{member}</h2>
              <p className="text-sm text-gray-500">총 {Math.floor(totalTime)} 시간</p>
            </div>
          </li>
        ))}
      </ul>
    </Layout>
  );
아까 작성한 layout.js를 import하고 <div>를 <Layout>으로 변경해주면 됩니다.
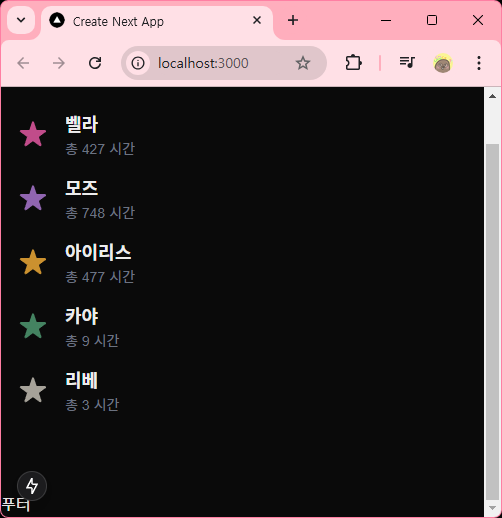
올바르게 layout이 설정됐다면 아래처럼 헤더와 푸터 글씨를 발견할 수 있을겁니다.

✨ TailwindCSS로 layout 꾸미기
영상에서는 TailwindCSS를 별도로 설치하는데 저는 Next.js를 설치할 때 포함하여서 별도로 설치하지 않았습니다.
TailwindCss 설치를 완료했다면 Tailblocks에서 원하는 layout으로 꾸미는 일만 남았습니다!
Tailblocks — Ready-to-use Tailwind CSS blocks
tailblocks.cc
1. 마음에 드는 layout을 찾는다.
2. VIEW CODE 버튼을 누른다.
3. COPY TO CLIPBOARD 버튼을 누른다.
4. 코드를 붙여넣는다.

⚠️ 코드에서 변경 해주어야 하는 부분이 있습니다.
- class 👉 className
- stroke-linecap 👉 strokeLinecap
- stroke-linejoin 👉 strokeLinejoin
- stroke-width 👉 strokeWidth
완성된 header와 footer 코드.
export default function Header(){
    return (
        <>
            <header className="text-gray-600 body-font">
                <div className="container mx-auto flex flex-wrap p-5 flex-col md:flex-row items-center">
                    <a className="flex title-font font-medium items-center text-white-500 mb-4 md:mb-0">
                    <svg xmlns="http://www.w3.org/2000/svg" fill="none" stroke="currentColor" strokeLinecap="round" strokeLinejoin="round" strokeWidth="2" className="w-10 h-10 text-white p-2 bg-red-500 rounded-full" viewBox="0 0 24 24">
                        <path d="M12 2L2 7l10 5 10-5-10-5zM2 17l10 5 10-5M2 12l10 5 10-5"></path>
                    </svg>
                    <span className="ml-3 text-xl">짭알못 소개 페이지</span>
                    </a>
                    <nav className="md:ml-auto flex flex-wrap items-center text-base justify-center">
                    <a className="mr-5 hover:text-gray-900">First Link</a>
                    <a className="mr-5 hover:text-gray-900">Second Link</a>
                    <a className="mr-5 hover:text-gray-900">Third Link</a>
                    <a className="mr-5 hover:text-gray-900">Fourth Link</a>
                    </nav>
                    <button className="inline-flex items-center bg-gray-100 border-0 py-1 px-3 focus:outline-none hover:bg-gray-200 rounded text-base mt-4 md:mt-0">Button
                    <svg fill="none" stroke="currentColor" strokeLinecap="round" strokeLinejoin="round" strokeWidth="2" className="w-4 h-4 ml-1" viewBox="0 0 24 24">
                        <path d="M5 12h14M12 5l7 7-7 7"></path>
                    </svg>
                    </button>
                </div>
            </header>
        </>
    );
}
export default function Footer(){
return (
<footer className="text-gray-600 body-font">
<div className="container px-5 py-8 mx-auto flex items-center sm:flex-row flex-col">
<a className="flex title-font font-medium items-center md:justify-start justify-center text-gray-900">
<svg xmlns="http://www.w3.org/2000/svg" fill="none" stroke="currentColor" strokeLinecap="round" strokeLinejoin="round" strokeWidth="2" className="w-10 h-10 text-white p-2 bg-red-500 rounded-full" viewBox="0 0 24 24">
<path d="M12 2L2 7l10 5 10-5-10-5zM2 17l10 5 10-5M2 12l10 5 10-5"></path>
</svg>
<span className="ml-3 text-xl">짭알못</span>
</a>
<p className="text-sm text-gray-500 sm:ml-4 sm:pl-4 sm:border-l-2 sm:border-gray-200 sm:py-2 sm:mt-0 mt-4">© 2023 짭알못 —
<a href="https://twitter.com/knyttneve" className="text-gray-600 ml-1" rel="noopener noreferrer" target="_blank">@knyttneve</a>
</p>
<span className="inline-flex sm:ml-auto sm:mt-0 mt-4 justify-center sm:justify-start">
<a className="text-gray-500">
<svg fill="currentColor" strokeLinecap="round" strokeLinejoin="round" strokeWidth="2" className="w-5 h-5" viewBox="0 0 24 24">
<path d="M18 2h-3a5 5 0 00-5 5v3H7v4h3v8h4v-8h3l1-4h-4V7a1 1 0 011-1h3z"></path>
</svg>
</a>
<a className="ml-3 text-gray-500">
<svg fill="currentColor" strokeLinecap="round" strokeLinejoin="round" strokeWidth="2" className="w-5 h-5" viewBox="0 0 24 24">
<path d="M23 3a10.9 10.9 0 01-3.14 1.53 4.48 4.48 0 00-7.86 3v1A10.66 10.66 0 013 4s-4 9 5 13a11.64 11.64 0 01-7 2c9 5 20 0 20-11.5a4.5 4.5 0 00-.08-.83A7.72 7.72 0 0023 3z"></path>
</svg>
</a>
<a className="ml-3 text-gray-500">
<svg fill="none" stroke="currentColor" strokeLinecap="round" strokeLinejoin="round" strokeWidth="2" className="w-5 h-5" viewBox="0 0 24 24">
<rect width="20" height="20" x="2" y="2" rx="5" ry="5"></rect>
<path d="M16 11.37A4 4 0 1112.63 8 4 4 0 0116 11.37zm1.5-4.87h.01"></path>
</svg>
</a>
<a className="ml-3 text-gray-500">
<svg fill="currentColor" stroke="currentColor" strokeLinecap="round" strokeLinejoin="round" strokeWidth="0" className="w-5 h-5" viewBox="0 0 24 24">
<path stroke="none" d="M16 8a6 6 0 016 6v7h-4v-7a2 2 0 00-2-2 2 2 0 00-2 2v7h-4v-7a6 6 0 016-6zM2 9h4v12H2z"></path>
<circle cx="4" cy="4" r="2" stroke="none"></circle>
</svg>
</a>
</span>
</div>
</footer>
);
}
중간의 layout은 Team의 첫 번째 layout으로 골랐습니다.

상단에는 스터디 소개 문구를 간략하게 적고 카드는 각 멤버들의 별 이모지와 이름, 시간을 작성할겁니다.
복사해온 코드를 보면 각 카드가 9개의 <div>로 이루어져있었습니다.
기존에 작성한 코드를 활용하여 동적으로 카드를 생성하도록 수정하며 layout을 완성했습니다.
return (
    <Layout>
      <section className="text-gray-500 body-font">
        <div className="container px-5 py-24 mx-auto">
          <div className="flex flex-col text-center w-full mb-20">
            <h1 className="sm:text-3xl text-2xl font-medium title-font mb-4 text-white">
              짭알못이란?
            </h1>
            <p className="lg:w-2/3 mx-auto leading-relaxed text-base">
              과거에 '금요일을 알차게보내는건 못참지'라는 금요일마다 자기계발을 하는 모임이 있었습니다.<br />
              저희는 그 모임과 별개로 매주 목요일마다 자기계발 모임을 하였습니다.<br />
              어느날 누군가 '짭알못이다!' 라고 외친 이후로 그렇게 불리게되었습니다...<br />
              하지만 지금은 우리가 찐 ㅋ😎
            </p>
          </div>
          <div className="flex flex-wrap -m-2">
            {Array.from(memberTimeMap.entries()).map(([member, { totalTime, iconUrl }]) => (
              <div key={member} className="p-2 lg:w-1/3 md:w-1/2 w-full">
                <div className="h-full flex items-center border-gray-200 border p-4 rounded-lg">
                  {iconUrl && (
                    <img
                      src={iconUrl}
                      alt={`${member}의 아이콘`}
                      className="w-12 h-12 mr-4 rounded-full"
                    />
                  )}
                  <div className="flex-grow">
                    <h2 className="text-white title-font font-medium">{member}</h2>
                    <p className="text-gray-500">총 {Math.floor(totalTime)} 시간</p>
                  </div>
                </div>
              </div>
            ))}
          </div>
        </div>
      </section>
    </Layout>
  );
최종 렌더링 된 사이트의 모습✨
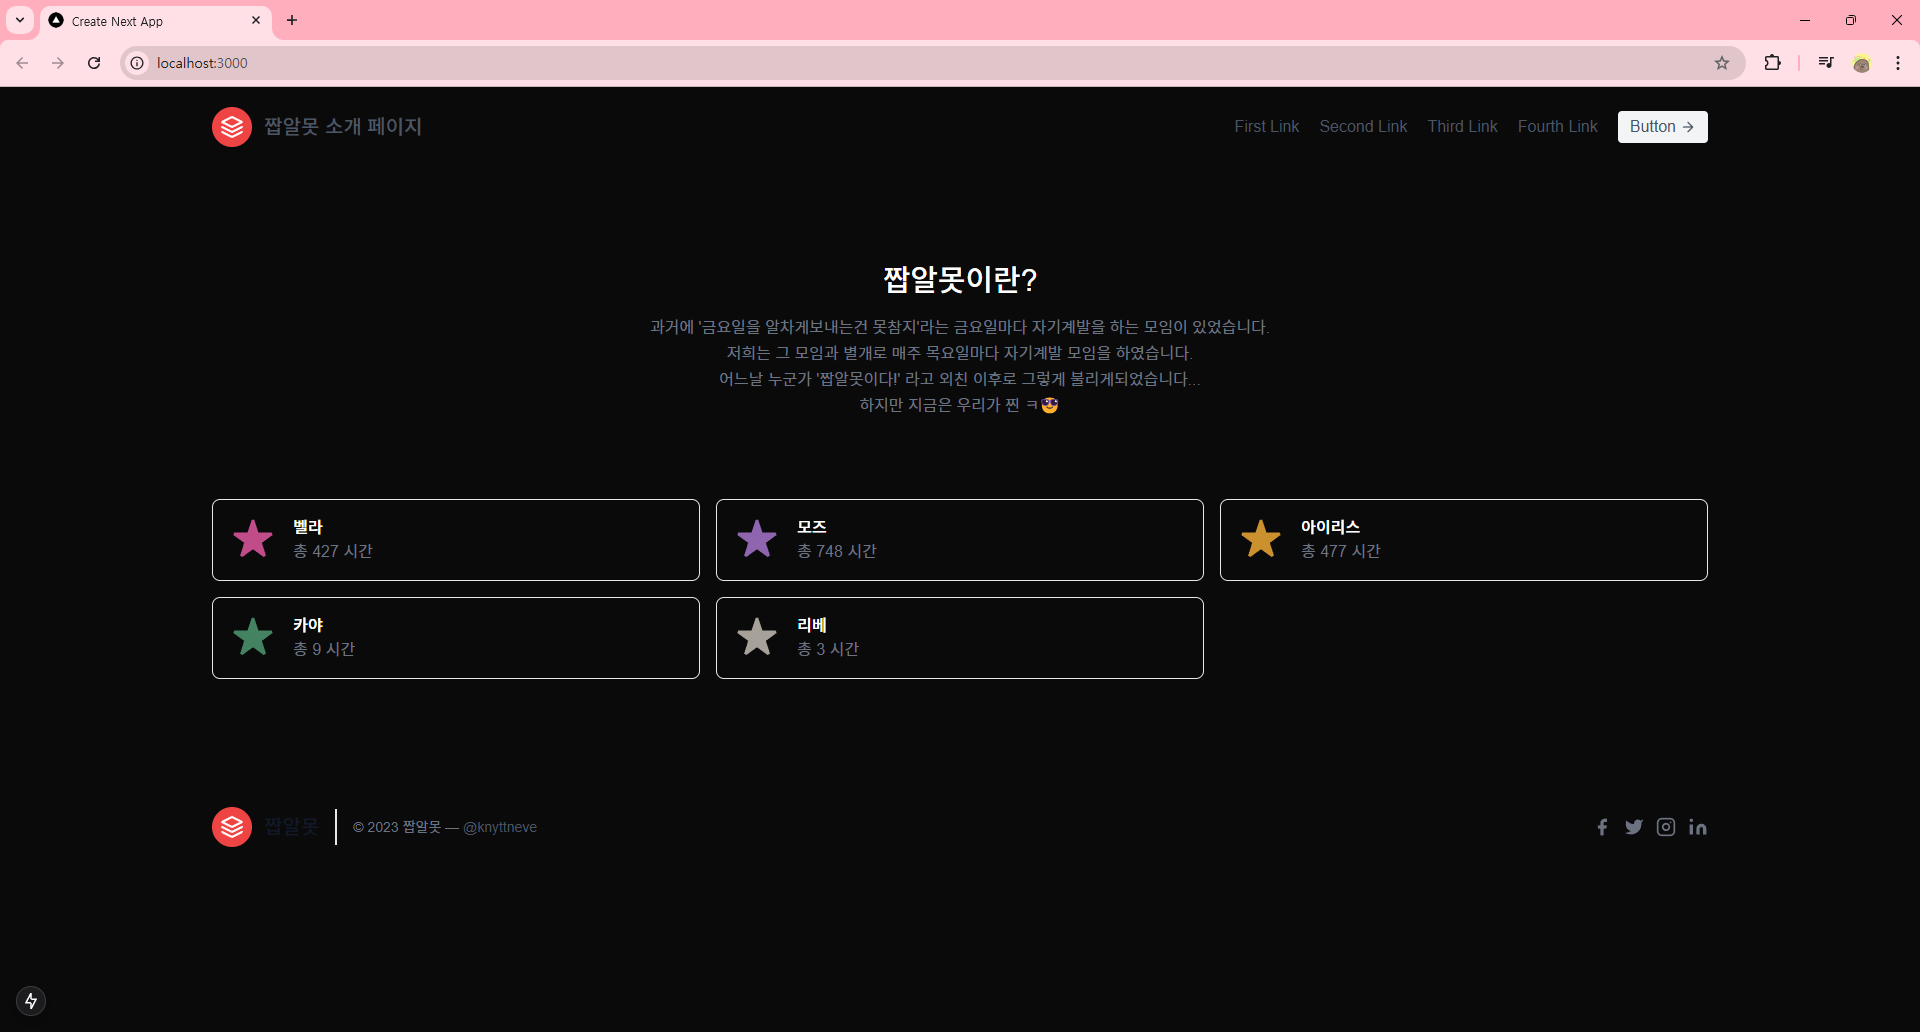
아직은 디테일한 부분은 어색하지만 제법 사이트 같아 졌습니다. 만족쓰😊
다음에는 라이트 모드와 다크 모드를 지원하는 기능을 추가 할 예정입니다.
참, 이번에 노트북에서도 작업하기 용이하도록 깃 레포도 팠습니다.
만약 포스팅이 올라오기 전 코드가 궁금하다면 참고해주세요 ㅋㅋ
https://github.com/JoHyeonJi0408/Study-Introduction-Website
GitHub - JoHyeonJi0408/Study-Introduction-Website: 스터디 소개 웹사이트
스터디 소개 웹사이트. Contribute to JoHyeonJi0408/Study-Introduction-Website development by creating an account on GitHub.
github.com

'프로젝트 > 웹페이지' 카테고리의 다른 글
| 웹 개발 1도 모르는 사람이 웹페이지 만들기 프로젝트 6일차 (1) | 2025.01.15 |
|---|---|
| 웹 개발 1도 모르는 사람이 웹페이지 만들기 프로젝트 5일차 (0) | 2025.01.13 |
| 웹 개발 1도 모르는 사람이 웹페이지 만들기 프로젝트 3일차 (1) | 2025.01.02 |
| 웹 개발 1도 모르는 사람이 웹페이지 만들기 프로젝트 2일차 (0) | 2025.01.02 |
| 웹 개발 1도 모르는 사람이 웹페이지 만들기 프로젝트 1일차 (2) | 2024.12.21 |


